Monday, July 30, 2012

It's Letter Of The Day = E!!


Hello my friends and fellow crafters!
My goodness! How did the end of July happen upon us so quickly?  I love the summer days and have not minded the heat too much!  (well, as long as I have air conditioning to return to after being outside, that is!).

I just hate that all too soon, summer will be over!  
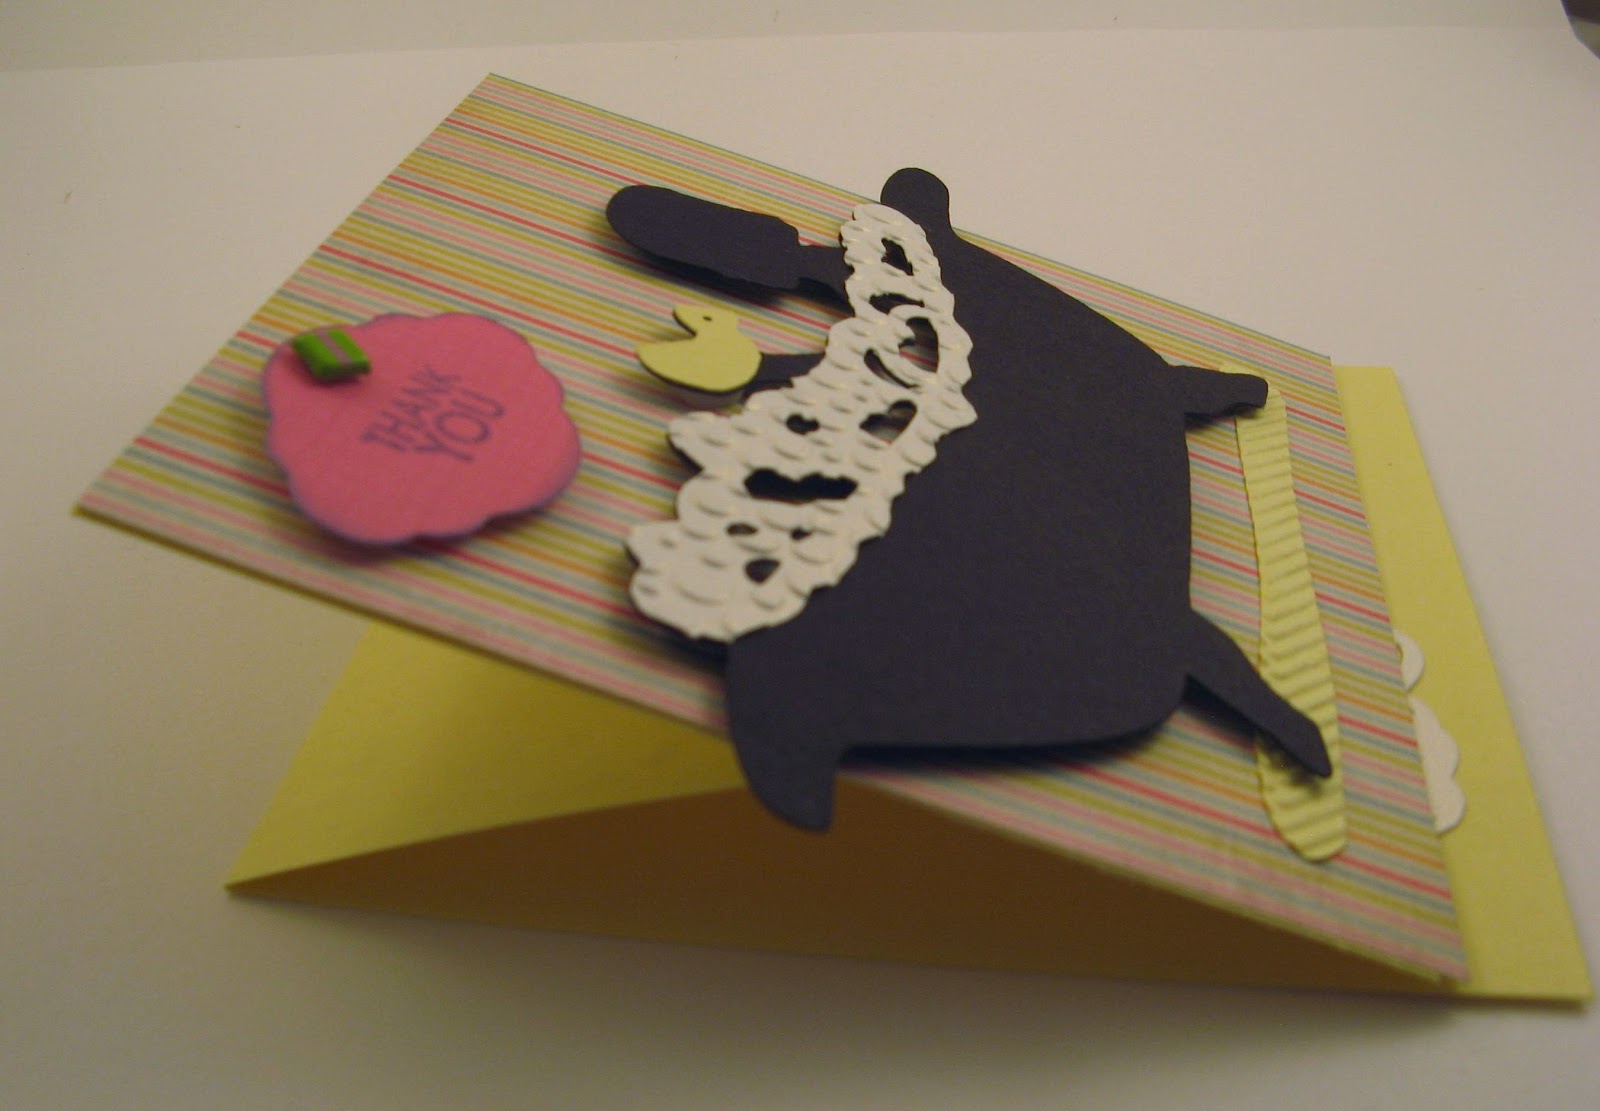
Today at My Cricut Craftroom, one of our "assignments" was to create a project to fit the " Letter Of The Day = E " category.  We can either create a project with a Cricut Cartridge that starts with the Letter E or we could use an image that begins with the letter of the day.  I knew I had to make a card for my dear friend's grandson's first birthday - and thought a cute little Elephant would be just the perfect image to cut!  
I started off with the ZooBalloo Cricut Cartridge and cut the elephant and all the layers on page 86 of the handbook.  I used a shiny silver cardstock for the main body of the elephant, which caused a bit of reflection but did not want to photograph as well as I had hoped (EVEN with my NEW CAMERA!!).
For the ears and the trunk, I used a slate blue cardstock and ran them through the Cuttlebug with 
the Swiss Dot embossing folder to make them stand out a bit.
I liked the way the shiny cardstock contrastsed with the matte cardstock!
I just wish you could see that a bit better in my photographs!
I just knew that this elephant would look adorable with the Googly Eyes added!  I seem to be on a "googly eye" kick...this is the 2nd project in a row where I used them!  
You can see from this photo that I added a balloon with the Number One...perfect for a little boy's first birthday, don't you think?  I found this balloon on A Child's Year cartridge . There is a balloon on almost every Monogram feature key on this cartridge, but they all have a symbol of some sort on them. Not ONE of them has a number one, however!  But no worries!  Using my Gypsy, I was able to both size the balloon to the perfect size as well as eliminate the unwanted symbol.  I then cut a number 1 using  the Plantin Schoolbook cartridge, also using the Gypsy, so I could size it just right for fitting onto my balloon!
Did you notice the Twinery Twine that I used for the balloon?  I think it looks so cute, tied onto my elephant's trunk and then onto the balloon!
I wanted to add a bit more to my card, so I selected the Palm Tree from the DoodleCharms cartridge.
Again, if you are a frequent visitor here, you know me with embossing.... I love it!  I ran the Palm Leaves through the Cuttlebug using the Evergreen folder.
With the Gypsy,  I selected the Plantin Schoolbook Cartridge and the Grass image, sized it to 6 3/4 " in length and cut two layers of grass, one just a tiny bit taller than the other layer. I nestled my elephant and the palm tree into the layers and used foam squares to attach the palm tree, the elephant and the balloon, for added dimension to the card!

For the inside sentiment, I used the computer to type the sentiment:
"Wishing you a TON of fun on your First Birthday!"
I am not sure if the Mother of this child is a scrapbooker, but I thought this could be saved and used as
a page element in his baby book or a scrapbook! 
I hope you will visit My Cricut Craftroom to see what other fun ideas my fellow Design Team Sisters
have created for today!  
Please leave a comment and let me know what you think!  I read and value each comment!
Thank you and have a Great Week!
Photobucket

Wednesday, July 25, 2012

Christmas In July!

Welcome to my little corner of the crafting world!  I am glad you stopped by to visit!
Can you believe that there are only 5 more months until Christmas?
Every year I say I am going to get a jump start on making Cards and Gifts - and that never seems to happen!
So when Erica at My Cricut Craftroom gave the design team the option of creating some kind of a 
Christmas project for July 25th - I jumped at the chance to get a start!
Frequently, I design at least 2 or 3 cards and then decide which I would like to reproduce to send to all those on my Christmas Card list.  When you are making a large number of cards, you want something that is cute and unique, but simple enough to make (in my case) about 75 or so cards!
I was excited to use the Cricut Lite Jolly Holidays cartridge.  I purchased this cartridge just before Christmas last year, but after I made my cards - so it remained wrapped up until now!  
This cartridge has some super cute Winter and Holiday images on it! 
I selected the penguin with an umbrella (I am still puzzled as to WHY they designed this image with the umbrella!)  and cut the base image  at 4.25 inches. A couple of quick snips with my scissors and the umbrella was no longer there!  
I then cut all the penguin layering images (also at 4.25, of course!) and chalked his little cheeks to give him a rosy glow!
Let me give you a full view of the card and we'll review some of the details together!
(Click on any image for a larger picture)
How cute is he??
For my cute little penguin, I used some googly eyes and that just makes his personality shine, don't you think?
I then selected the tree, also from the Jolly Holiday cartridge.  I embossed the tree with the Evergreen
embossing folder, then added Stickles to the little balls on the end of the tree instead of cutting out the circles that were intended to be included in the cut.  I think it is fun to add a little creativity and not always cut every layer, but sometimes use other products to create the desired effect!

Look at those Stickles and Embossing!  I JUST got a new camera...these are my first images from it! I am so excited to be getting much sharper, close up photos!
I hand cut some drifts of snow and embossed them with one of my "go to" Cuttlebug
Embossing folders called "Divine Swirl".  I find myself using that embossing folder quite a bit!
I added just a light brush of light blue ink on the edges of the snow drifts, and tucked the trunk of my tree deep into one snow bank!  
Being a fan of foam layering squares, I popped up my little penguin so he appears to be nearer the viewer with the tree just a bit further in the background of my scene.
With Fiskars Stamp set called "Tis The Season", I stamped with white ink the 
phrase "Merry Christmas" as well as a scattering of snowflakes!


Showing you a closer view of the snowflakes stamped on as well as the dimension given with the foam dots!
(Ok, who am I kidding?  I am trying out the new camera....trying to see what detail I get from angles and various distances!  But I did want you to see the depth the foam squares adds to a card vs. just always gluing the images flat on your card or layout.)
One final view!
Do you make your own Christmas cards?  If you do, when are you likely to get started on them?
I hope today's post gave you some inspiration to at least think about your Holiday crafting plans!  
Please be sure to stop by My Cricut Craftroom to see what my fellow Design Team members have to share with you today!
www.mycricutcraftroom.blogspot.com
I hope you'll take a moment to leave a comment!  I love to hear what you have to say!
Have a great day!
Thanks for stopping by!


Wednesday, July 18, 2012

"A Chlld's Year" Cricut Cartridge Project

Welcome to my weekly post for the My Cricut Craftroom design team!
Today one of the project options for the team was to use the Cricut Cartridge called "A Child's Year".  I have had this cartridge for quite some time and I enjoy using it. I really like the feature cuts but also find so many fun images on some of the other feature keys.
I was very lucky to have a sweet friend and fellow design team member, Shelley Peeler of /http://shelley-scrapbookingforfun.blogspot.com/  who is not only is a talented paper crafter but she makes a line of bath and body products as well.  We were chatting one evening and she so very kindly offered to GIFT me with a few "treats" from her online store (which can be found here - http://perfectscentsforyou.blogspot.com/). You will want to go and see the bath salts, the candles and the lotions she makes!

To thank Shelley, I made a card for her using the "A Child's Year" cartridge but switched it up a bit. Most people use black to make the silhouette figures of the children which make up the main feature images on this cartridge. I like the black shadow type figures for some projects, but recently I have decided to layer color on top of the black silhouettes and give a pop of color!
 
To begin my design, I wanted to do something a bit different that just a plain flat card, so I remembered I had not made any Easel Cards for a while.  Months ago, I found a great tutorial on the site called
Splitcoaststampers (here is the direct link: http://www.splitcoaststampers.com/resources/tutorials/easelcard/).
I had to refresh my memory on how to make it so I went back to this fabulous resource!
After I made the base of the easel card... I cut  the image found on page 75 of A Child's Year Booklet and cut that main feature in black at 3 inches.
I repeated the same cut, using a shimmery white paper and then again using a yellow paper.
I hand trimmed out the "bubbles" from the while image, and then ran it through the CuttleBug with the "Tiny Bubbles" embossing folder. (If you are interested in this embossing folder it can be found at Erica's Store right here : http://www.shop.ericascraftroom.com/Cuttlebug-Emboss-Folder-Tiny-Bubble-37-1229-Cuttlebug-Tiny-Bubble.htm?categoryId=-1).
After spraying the white bubbles with a bit of Sheer Glimmer Mist, I then glued it on top of the black silhouette.
With my yellow version, I again hand trimmed just the cute little rubber duckie and also layered it on the main  figure.
Using the Icon Feature key on Page 75 of A Child's Year, I then cut out two rubber duckies out of yellow, flipping one of the images so my ducks could face each other on the base of the easel card. I wanted the ducks to be what would hold the "easel" portion of the card up ... so I pop dotted them after I did a bit of hand drawn decorating for eyes, beaks and feathers and also inked the edges in White ink.


I layered my cute ducks on another layer of bubbles which were also cut from
A Child's Year on page 75, this time using the Shift button of the main image. I hand trimmed the child figure out and just used the bubbles of this image!  Got to think out of the box sometimes!
I did not want my bathtub to appear to be just floating on the card, 
so I hand cut a little throw rug and embossed it to ground the image a bit.
I think this makes my card look just like a bathroom!
The front of my card needed a sentiment. I wanted this to look like it was a
wall hanging on the bathroom wall - so I created what I felt looked like a little piece of 
framed wall art with the THANK YOU stamp ( from the Close To My Heart sentiment stamp set called
"Say It In Style").  The shaped image was cut from the Cake Basics Cartridge on page 33 using the Plain Base Blackout feature key and cutting at 1 inch.


I used a blue ink that really tied in well with the blue stripes in my background paper (which made me think of wall paper!) for both the sentiment and inking around the edges.  My camera has not been co operating with me of late and my close up images leave a lot to be desired. I am in the process of checking out new cameras! 
If you visit my blog very frequently, you know I am very fond of giving dimension to my projects...so I foam dotted the "Thank you" sign as well as the bathtub image (and I already told you I pop dotted the ducks!).
The following two images are showing a couple of side views of the cards - to help you see how they stand up and what a fun change they are instead of always having just a flat card!

So, there you have it!
Shelley, this will be on it's way in the mail to you now that it has made it's debut online!
I hope you enjoy it and that you know I am so very thankful for your friendship and your kindness!
Believe me...it's been a week where I am ready to enjoy those bath salts!
Please stop by and visit My Cricut Craftroom 
to see what fun projects my fellow design team sisters have 
created for this week.
Have a wonderful week and stay cool!!
Thank you so much for stopping by and I so enjoy hearing from you!  Please leave some "love" so I know you were here!  
Photobucket

Monday, July 9, 2012

The Letter of the Day is B!!

Hello Everyone! 
Have you had any relief from the high temperatures that most of the country is experiencing?
Looks like we are in a cool down here - - it's only supposed to be in the upper 80's all this week!
Today at My Cricut Craftroom, one of the options for our projects today was making something
using the Letter Of The Day - so I decided that is what I would do for my post!
I recently purchased several adorable mini paper pads from Erica's store, including a 6 x 6"
pad of paper from Echo Park called This and That - Graceful collection.  It is really cute!
As soon as I saw the paper that had the BINGO cards on it, I just knew it would be perfect  for 
The Letter of The Day - B and also for a friend's birthday that is coming up!  She really enjoys going to the BINGO Hall to play Bingo!
SO....to keep on my "B" theme...I used the Birthday Bash Cricut cartridge (click for the direct link to it in Erica's store)  to cut the shapes to make up my banner on my card.
In the Birthday Bash Cartridge handbook on page 69 you will find the pennant shape under the "font" feature key.  I cut 5 of those each at .98.  I wanted to have a layer behind the banner, so I also used the "font shift" feature key to cut a shadow at 1.6".
I added Capital Letters using the appropriate buttons to spell out the word
"BINGO", again from the cartridge Birthday Bash and using the font feature key.
The letters were each cut at 3/4 inch each.  I used a  fine tip Glue Pen (if you ask me, it is a MUST HAVE for paper crafts to glue down tiny pieces and  I am very thankful Erica carries them in her store!) and attached the letters to the aqua pennant shape, 
then used foam squares to pop up the aqua pennants from the shadow/ brown pennant.
Although the Cricut did cut teeny tiny holes, they were so small and did not really cut all the way through, so I used a tiny hole punch to get a slightly larger hole in both the main pennant shapes as well as the shadow.
I threaded some twine in the perfect chocolate brown color and created my hanging banner.
I wanted the banner to have something to "hang from" so I added two paper cirlces cut from Platin Schoolbook and to that attached 2 button brads. I twisted the twine around the brads to attach the cute little hanging banner!
Sorry this is a bit blurry, but you can see how I attached the twine around the brad
and just how cute that little button brad is!
On the inside, I printed the words  
"You Hit The Jackpot!  It's Your Special Day!
Happy Birthday"
on cardstock for the sentiment.
I was pleased that I could make a Birthday card using the
Birthday Bash cartridge using BINGO pattern paper
on LETTER B day!  

 I hope you enjoyed my project for today and I certainly hope my friend will 
get a kick out of the card for her birthday as well!
I love to read your sweet comments...please take a minute to let me know your thoughts!
Now be sure to head over to My Cricut Craftoom to
 see what other projects my fellow design team members are sharing today!
Thank you so much for visiting! 


Photobucket


Tip Junkie handmade projects

Friday, July 6, 2012

It'sTime for the July 100 Cartridge Blog Hop!

Welcome to Erica's Craft Room
100 Cricut Cartridge Blog Hop Day ONE
You should have started at http://mycricutcraftroom.blogspot.com/ if not please start at the beginning.

If you did start there, you should have arrived HERE from 
Kathy S http://3spoileddogs.blogspot.com/


Welcome to My Cricut Craft Room's one year "BLOG-iversary" of our first 100 cartridge Blog hop!
A year ago the blog was kicked off with the first design team members and daily postings. It took 2 months to get ready for this hop last year. Now we bring it to you the first full weekend of every month.
Collectively the design team uses over 100 different Cricut Cartridges in their projects during the two days of this hop. Sunday the new members of the design team will be announced and some have even made a project to share with you!! What an exciting weekend!!

As special treat enjoy 10% off of your total purchase with Erica's Craft Room Store.
Use the code JULY to see 10% off of your total purchase (No exclusions)
on July 7 & 8. Also on Sunday there will be an exciting announcement!!!

For today's Hop, I chose to use the following three cartridges:
Stand and Salute,
Independence Day
and
Spring and Summer Tablescapes

Since the 4th of July holiday just passed, I would like to show you my first project that I made using both the Stand and Salute and the Independence Day cartridges.
I have a friend who is a World War 2 Vet and LOVES everything patriotic.
He loves to decorate his home using Patriotic touches. Every year I give him a gift, usually homemade, with the patriotic colors of red, white and blue or something that symbolizes Americana. 

This year, I used the Stand and Salute and Independence Day cartridges, along with a foam wreath form and two sparkly red, silver and blue garlands (garlands purchased at Michael's Crafts)  to make a wreath for his front door.  
He lives in an apartment with an interior hallway, so thankfully I do not have to worry about this being out in 
the weather. It would not do well in rain or high winds!
To begin, I took my foam wreath form and simply wrapped the garland around the wreath, keeping it tight and pretty close together so none of the white wreath base could show through.

Should you be a household that is lucky enough to have an adorable cat in residence,
may I suggest doing this when that said cat is not awake.
My sweet boy Copper was very interested in the pretty sparkly tinsel type garland.
I moved from place to place in the house to attempt to work on this and "loose" him.
He found me every time!


Look at this face!  "Did I do something to bother you, Mom?"
Using the Independence Day cartridge, I cut I <Heart>
the USA at three inches.
Knowing I wanted a base for it to rest on, I selected one of my favorite
cartridges, Art Philosophy, and cut two scalloped bases for it to
rest on, one a bit larger than the other. 
I then used the Cuttlebug to emboss the base layer and used foam dots to 
give some lift and dimension to the words. 


With the Plantin Schoolbook cartridge, I cut an extra heart and embossed it as well to 
just add some more color and emphasis to the heart.
With the Stand and Salute Cartridge, I cut the words
God Bless America. In similar fashion to the method I used for the "I love the USA" word art,
I layed two scalloped bases from Art Philosophy.
Again, I added dimension with foam dots and embossing the base for that little something exrtra.


Copper again assists me as I attach the Word Art to the wreath!
  
Most importantly, here is the recipient of the gift and a proud 
American!
 Chuck with Teresa


Finally, for my 2nd project - I am featuring 
Spring and Summer Tablescapes.

I must admit, I was excited to get this cartridge - but very frustrated with the booklet that
came with it.  It is little more than a pamphlet, in my opinion.  Yes, there are some instructions (all in photos, no words) that show you how to assemble a few of the cuts.  But I felt it left a lot to be desired and I am HOPING that Provo Craft will not start replacing regular cartridge booklets with something similar to these
just to save a bit of money!
Ok...my whining and complaining is finished!  On with the projects!
In August, I am very much looking forward to the visit of a friend that I have not seen
for a number of years.  We were very good friends in high school, but as life goes on, we lost touch. Facebook helped us find each other once again!
I am planning a party to celebrate her visit and got the idea of having a "Pink Flamingo" party.  Pink flamingos do not have any correlation to our friendship or to my friend ..I just like Pink Flamingos and the color PINK  so I thought it would make a festive atmosphere for welcoming her!
I am  just starting to make the decorations and the party supplies for this party, and used Spring and Summer Tablescapes to create napkin rings!
I started by cutting the napkin ring shape on page 14 of that "booklet".  I cut it at 3 1/2 inches. 
Silly me -  I forgot to take a photo of how the napkin ring looked just cut out without my embellishing.
It has been a very busy, hectic week for me!  
Here are the napkin rings, laying out flat, with my cute pink flamingos already added.


 Here is one of my flamingos, attached with pop dots. I used Life Is A Beach to cut my flamingos. The cute flamingo can be found on page 14 of the booklet. I cut them at 3 inches.  I used a Glaze pen to make the eye and decorate the feet and added Stickles (Pink) to the backs/wing area of each Flamingo. I used the Gypsy to Flip half of my flamingos so they would face each other when the napkin ring was closed around a napkin.

Here they are. laid out and ready to roll around the napkins!
The base image of the napkin ring will cut out a with a slit to make closing the napkin ring a snap!
Now, see how my cute little pink flamingos face each other!!
 This is how it looks from the side...you can see how it will easily wrap around the napkin and close to hold.
Once the napkin is rolled and inserted, it will look like this!
TA - DA!!

How cute is that?  Now, I only have maybe 25 more to do!!???
I think I will also insert silverware and then place these all in a basket 
(lined with a pink napkin, of course!) and decorated with a flamingo when it's time for the party!
I will be sure to post some party photos when this happens....it will not be until mid August!
Please take a minute to leave a comment letting me know what you think about my Patriotic project as well as my Pink Flamingo Napkin ring!!

If you are in need of any crafting supplies or are looking for great pricing on Cricut Cartridges...please stop in at Erica's Store and enjoy an additonal 10% off this weekend!

You will now head on to my friend and fellow design team member, 
to see what wonderful creations she has made!


If you get lost along the way here is the entire line up for today, Saturday July 7!


. HAPPY HOPPING! 
Please leave your comments!
Photobucket