Wednesday, January 23, 2013

Guest Designer at 3 Girl Jam!

Hello Crafty Friends!
Today is my lucky day!  My dear friend Jessica Shelton Buffa, a member of the amazing 3 Girl Jam design team, asked me to be a guest designer at the 3 Girl Jam Blog today!  I was over the moon excited to have this opportunity!
I have been a scrapbooker for a long time, in one form or another!  I've dabbled in many types of crafts over the years, but paper crafting has always been what I've returned to. I met my sweet friend Jessica, from Jessica's Craft Shaque and  The Pinque Peacock  when we both served on the same design team. We quickly developed a great friendship and we found we share the same birthday!
I was first introduced to the wonderful 3 Girl Jam products when I found out that Jessica was on their design team!  I participated in a blog hop and won some wonderful crinkle ribbon for blog hop candy! Jessica told me how wonderful the 3 Girl Jam Bow Maker was - so I could not wait to get my hands on that!
I've been a bit out of my "crafty game" due to foot surgery at the end of December. I am moving around a little bit more and was excited to get back in the craft room and create a project to share with you today!
The theme of Challenges going on at 3 Girl Jam right now is "It's A Party" and I was excited to make a card that could be used for a variety of celebrations but most likely a birthday.

I recently received a Silhouette Cameo and I am finally getting the chance to experiment with it! I cut the birthday candles file that I purchased from the Silhouette America store.  Layered it up on several layers of cardstock to give this project a lot of dimension and used some Crystal Lacquer on the flames of the candles.
Crystal Lacquer on the flames of the candles- 
\
I love to give a lot of dimension to my projects. I used foam layering squares to pop up 
various layers.


 I decided to tie my cute candles all together with some ribbon. With the AMAZING 3 Girl Jam Bow Maker,  even I can make cute little bows!

 This product is amazing and could not be easier to use!  I used some white Crinkle Ribbon from 3 Girl Jam and then added the most precious little stick pin from the Pinque Peacock to top it all off!


Thank you so much for stopping by and please be sure to check out the wonderful things that are happening over at 3 Girl Jam!


Tuesday, January 15, 2013

Cuttin' and Stampin' Challenge Week #2 - Hearts and Love Week


Tuesday January 15 Weekly Challenge #2


Hello My Crafty Friends!
I'm Teresa and today is my first "official" post for the Cuttin' and Stampin'  Weekly Challenge Blog!  I sure hope you will join in and craft along with us!


Weekly Challenge #2 Tuesday, January 15th thru January 21th.
Use Hearts or Love in your creation. 

This is my very first time using Amuse Studio Products and I am SOLD!

I had the opportunity to use their stamps, paper and twine for this project and I must tell you they are of the highest quality!  I am so impressed and so very pleased to be on Tammy's team and have  the opportunity to create with such fantastic products!
Let's take a quick peek at my project and then I will give you more detail.

This little box was cut from the Cricut Cartridge called Tags,Bags, Boxes and More 2.  It is called a
"candy box" but my daughter thought it looked like a cigarette case! That is so not the image I was going for!  Instead of candy (or cigarettes!) I chose to fill this with little love notes! 
I cut the box out of Amuse Studio paper called Slate -
and I just love this paper! It is nice and thick and the colors are lovely! 
I then used the Amuse Studio Patterned Cardstock in
"bubblegum heartbreaker" to cut a "belly band" and wrapped it around my box.  I layered that with a strip of cardstock and stamped the "XOXO" from one of the Amuse Studio Stamp Sets called
"Love Is In The Air". I was so impressed with the quality of the stamps!
From the same stamp set (found in the current 2013 Valentine's Day Catalog from Amuse)
I stamped the heart in a star burst pattern and attached it to a scallop flower shape.
For the top of my box, I stamped Happy Valentine's Day, again from the stamp set
"Love Is In The Air".
I thought it would be fun to add in little love notes inside the box, so I cut 4 pieces of Amuse Grapefruit cardstock  and rounded the edges. I then layered small pieces of slate cardstock on top of that, first tying on some of the Amuse Bakers Cording in Blush.
I love the weight and the feel of this bakers twine!  
I stamped on each of the pieces of Slate cardstock a sweet sentiment, again from the "Love Is In The Air" stamp set!  You sure can get a lot of use out of this ONE Set!
I really like the font and the lower case letters used on this set.
 missing you
 with love
be mine
love is in the air

I thought this would be a unique way to present a Valentine -- all in a neat little package!
Thank you so much for visiting with me today and please play along with us.
Here is a final look at my finished project:

Go to to Cuttin and Stampin Challenges for a complete list of rules and to enter your creation. You can go Here for more information on A Muse studio products.

I know once you try Amuse Products, you'll be back for more!


Friday, January 4, 2013

Cutting And Stampin' Design Team Introductory Blog Hop


Happy New Year to My Crafty Friends!  I hope you had  a wonderful holiday season!  I ended the year with a "bang" ...I had foot surgery on Dec. 28, my second foot surgery ever - and let me tell you - I don't know why feet, that area able to withstand us standing, jumping, running every day- are so incredibly painful once you have surgery!  I'm still in my first week post surgery, and on mandatory bed rest (which sounds really good when you hear it but is not fun)!!
Anyway, I am excited to announce that I am part of a wonderful new Design Team at http://cuttinandstampin.blogspot.com . We have some wonderful ideas to share with you in the coming months featuring the Amuse Studio products! 
If you just happened to vist my blog, please be sure to go back to the beginning  at http://cuttinandstampin.blogspot.com  so you don't miss a single project from my design team sisters!

Here at Cuttin and Stampin we are HAPPY, HAPPY, HAPPY and in the mood to CELEBRATE.  Today we are having a blog hop Celebrating our new Design Team and kicking off our weekly challenge blog.  Each of us has produced projects to Celebrate.  There are 11 new Design Team members and the final stop is where you can enter to WIN blog candy.  All you have to do is visit each blog and be sure to leave a comment. There are (2) $25.00 gift certificates to A Muse Studio up for grabs.  So grab a cup of coffee and hop along to meet the NEW CUTTIN and STAMPIN Design Team. 

For those of you new to my blog, I am Teresa and I've been doing some form of scrapbooking as long as I can remember!  I have gone through many crafting "phases" where I would experiment with whatever "crafty" trends were hot at the time.  I was very into rubber stamping about 10 years ago, but then took a break from pretty much all crafting for a while. I got back into crafting when I got my first Cricut several years ago.  Since then, I've been doing a variety of paper crafts- mainly focusing on card making, mini albums as gifts, and a bit of scrapbooking.  I am excited to combine rubber stamping with my Cricut and my brand new Cameo to see what I can create!  I thank Tammy Smith for the opporunity to work with this talented team and this brand new Challenge Blog!

For today's "Celebration" themed blog hop, I have two cards I created for you!

My first card is a birthday card for my daughter's upcoming birthday, although it could very well
be used as a graduation, congratulation or as an encouragement type card as well.
I used my Cricut Cartridge "Suburbia" to cut the lady with her "beverage"
and Elegant Edges to cut the frame behind her.  I used my brand new Silhouette Cameo
to cut the word "You" and stamped the "Celebrate" from a stamp from my stash.

A close up of the Party Girl ...you can see I used some Christmas Red Stickles to make her 
sparkly necklace and earring!
I inked the sentiment base to help it "pop" out against the background.
Using foam layering squares, I lifted up the sentiment as well as the
lady to give dimension to the card.
I hope my daughter will enjoy the card!

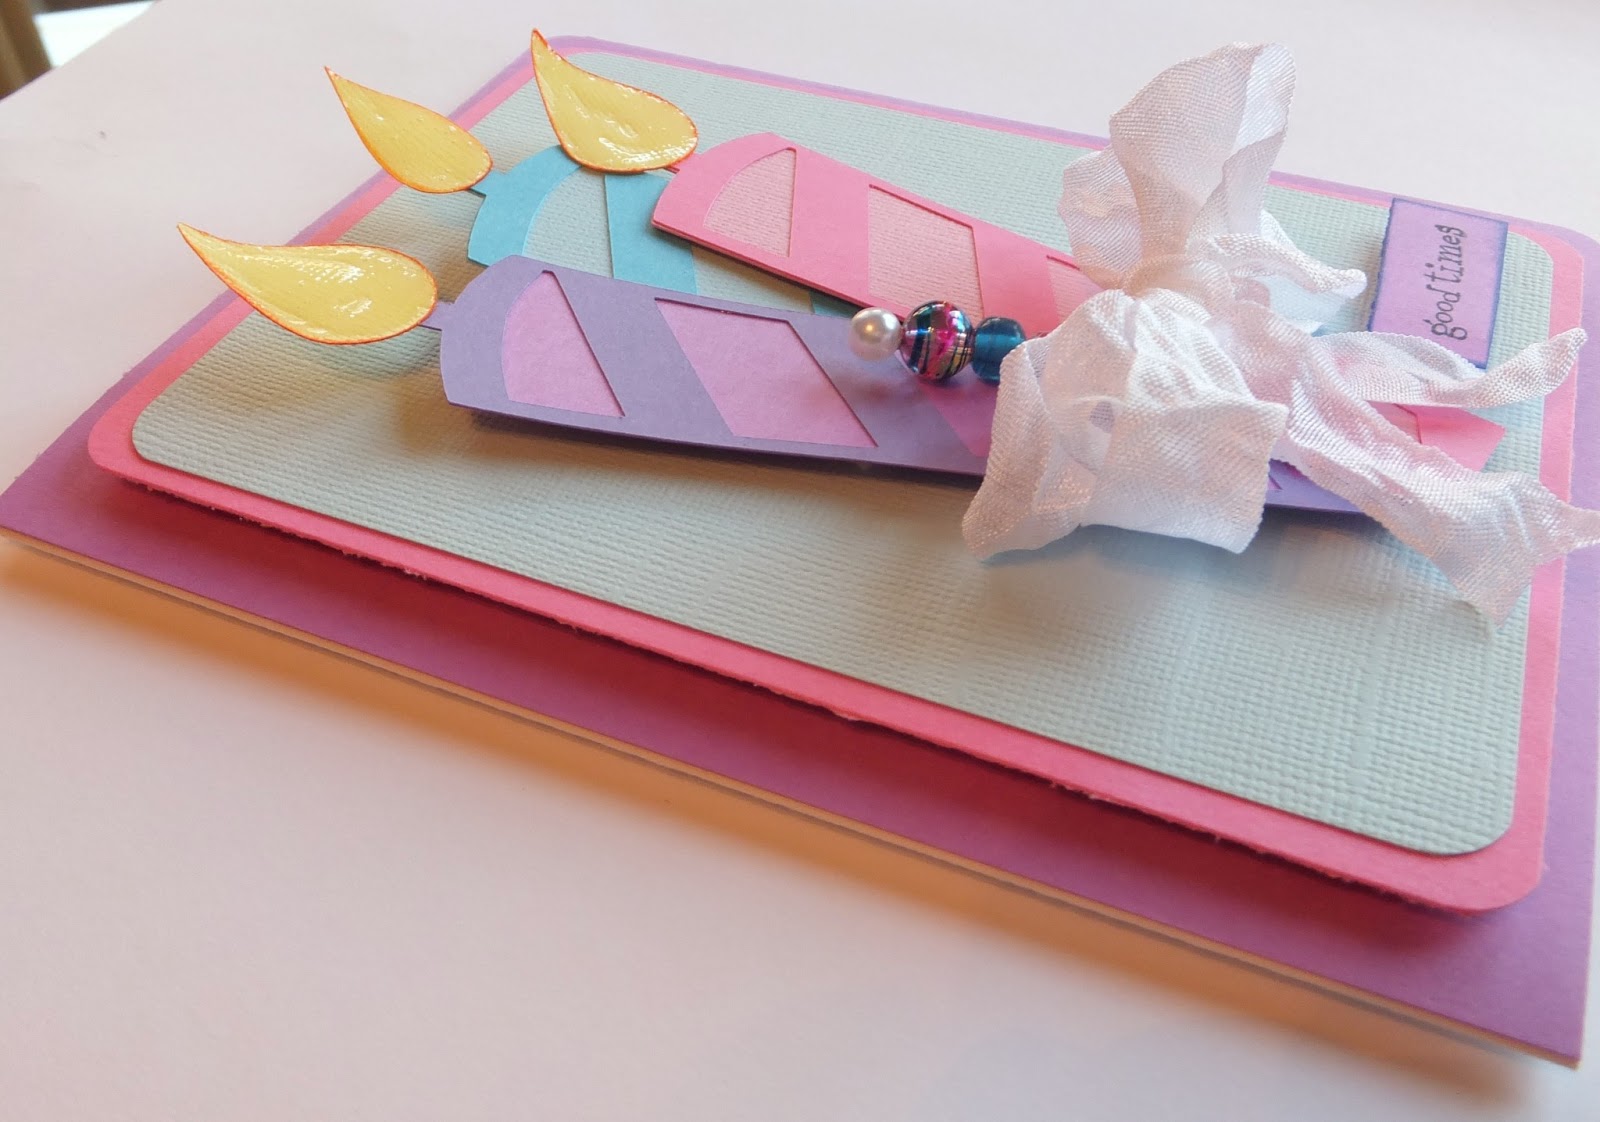
For my second "celebration" project I created another birthday card - this time for my sister in law
who also has a January birthday.
I am sorry to say the colors are not coming through as they are in reality.
The Chevron that you see in the background is NOT a patterned paper,but
actually cut with my Cameo!  It is cut from a deep purple paper. layered on a very pale
purple cardstock.  It was one of the first things I cut with the Silhouette Cameo and I was very
impressed how well it preformed!
  
Here is a close up of this cute cupcake!  Again, various shades of purple to create the 
cupcake wrapper and the cupcake itself. I ran the icing portion of the cupcake through
the Cuttlebug to create the swirls in the icing.

Using my favorite foam adhesive, I popped up the cupcake as well as the sentiment
to give it interest. 
That adorable purple ribbon was made into this cute little bow by using my
new 3 Girl Jam bow maker!  Made it so easy to get such a cute little double bow!  

For the sentiment, I simply printed it on the pale purple cardstock
(same used for the base of the card), then double matted it with other
cardstock used on the cupcake and the chevron to tie it all together.
I inked the edges of each layer of the sentiment piece.

I think this will be the perfect card for my sister in law!

I want to thank you all again for stopping by and being part of our CELEBRATION Hop.  Your next stop is my sweet friend Janet at:

Don’t forget to hop all the way through, leave a comment at each blog and enter to win blog candy at the end!

In case you get distracted along the way, here is a complete line up so you can make it to the candy.


I love to read your comments - won't you please take a moment to let me know your thoughts?
Thank you for stopping by!


Linking up to Link Up Tuesday at the Pink Cricut.com