Wednesday, November 21, 2012

Featured on Pink By Design - again!


Pink Cricut

I am very honored and excited to announce I was again featured on The Pink Cricut's Link Up Tuesday!

This is my second time and since I am such a fan of Sarah Hamer and her work - I feel so thankful to have a project featured again!
Thank you Sarah! 
Just wanted to share and to wish all of you a very safe, happy and healthy Thanksgiving!


Wednesday, November 7, 2012

It Is Almost Thanksgiving!


Hello and Happy Thursday to you!
I have been missing from blog land for the last couple of weeks due to having gall bladder surgery.

I am happy to report I had my follow up appointment with the surgeon and I am doing fine and able to slowly increase my activity level as I see fit!  I was excused from posting projects from the design team while I recovered.

Can you believe we only have TWO WEEKS until it is Thanksgiving Day?  Oh my!
Today's assignment on My Cricut Craftroom was Thanksgiving Table.  I decided to spruce up my
Thanksgiving table with a few new table decor projects.
I started out by making napkin rings.  For this project I used something we all have and use everyday in our homes...empty toilet paper tubes!  Well, I guess most people don't use EMPTY toilet paper tubes daily, but you know that I mean they are easy to be found!


I cut each tube to be 1 1/2 inches wide and covered them with paper from Bo Bunny Apple Cider Collection.  (Is that paper collection NOT THE CUTEST??).

I glued the paper around the tubes after cutting strips of paper to fit the "rings" and then added a leaf to each
for a little more decoration.  The leaves were found on the Artiste Cartridge on page 78 - I cut a variety of sizes so I could mix and match and see what I liked best for the finished project. I ended up using leaves cut at 2 3/4 inches and 3 inches.
I ran them through the Cuttlebug to give them some texture.
 Here are the napkin rings before I added the leaves: 


And here is one of the napkin rings with the leaf added! 
Next, I used the Thanksgiving Seasonal Cartridge to cut place card holders.
I cut both the base the layer to make the place card.


I will add the guests names once my guest list is complete!
For the final piece of my tablescape... I made favor boxes to resemble a piece of Pumpkin Pie!
This way guests can have a little snack for later!
I plan to fill it with either Hershey Kisses or Dark Chocolate Hershey Nuggets.
I added a swirl of tulle to resemble Whipped Cream on top!

I decided to try "Glubbers" and I really was not happy with the results.
Just did not stick as well as I wanted.
Here are a couple more shots of my "ready for Thanksgiving Table"!


I hope this gives you some ideas for decorating your table for the holiday!
Let me know what you think!
Please head over to My Cricut Craftroom and check out the projects my fellow design team
members created for you! 

Sharing this at "Oh so she says..." blog -
See some amazing projects there!!  

Linking up to 
Photobucket

Thursday, October 25, 2012

There are Two Months 'Til Christmas!


Hello and Welcome Friends!
Can you believe it is only 2 months until Christmas?   The year is just flying by!  Today at My Cricut Craftroom, one of our choices was to make a Christmas Gift - so that is what I have to share with you today!

Today I decided to use the Close To My Heart Artiste Cartridge.  Wow, does it have amazing images on it!
I wanted to try out the cute little matchbox that I found on page 49 of the Artiste cartridge. I decided to make it 4 1/2 inches so it would be the perfect size to hold a gift card.
Let's take a look at the finished project and then I'll show you how it all came together!
Here is the lid of the box cut out and just off the mat - - 
and here is the base of the box. 

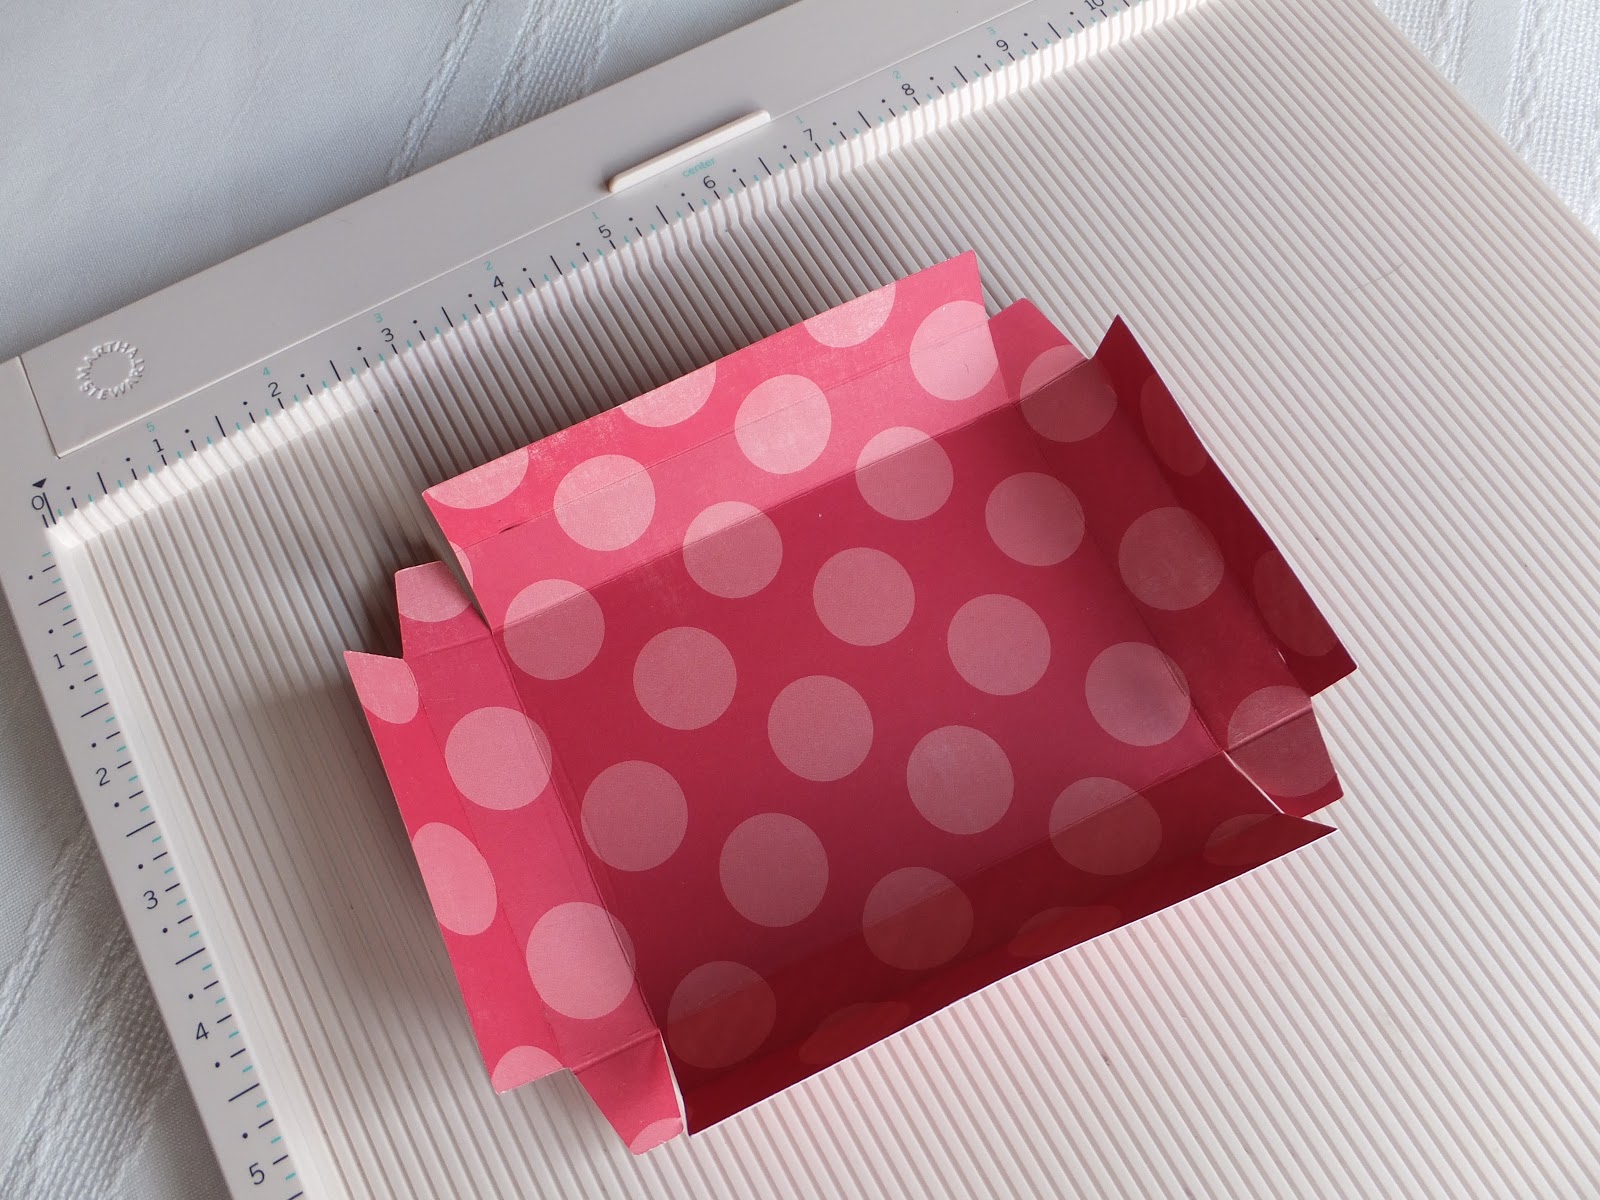
After cutting the images of the lid and base, I used my Martha Stewart Scor Board to score all the lines like so:


After scoring, I folded the score lines with my bone folder and then used adhesive to form my box.

Here we see the lid (from the top looking down on it),
This is how the lid forms to slide on to the bottom of the box, just like a matchbox.

 Here is the bottom of the box...don't you love the double sided paper so both the inside and the outside
of the box look finished and cute?  
And the completed box, all together and closed!  
Now I think this little gift box is pretty cute, but let's take it another step and decorate the lid.
You can obviously go all out or keep it simple. I went with the Keep It Simple idea!
From the Cricut Cartridge Joys Of The Season, I found this Santa face on page 46 of the handbook.
I cut the image and all of it's layers at 2 1/2 inches.

Before adhering the layers together, I ran the beard and the hat trim layer through the Cuttlebug using the Devine Swirl embossing folder.
I then used a colored pencil to color in his cheek and a fine tip marker for his eye...and added a white fuzzy pom pom for his hat!

With the Happy Holidays stamp from the Fiskars 'Tis The Season stamp set, I used white ink and then pop dotted both the sentiment and the Santa to the front of the gift box.
Here are a few different views...I am just tickled with my little Christmas Gift Box!
All ready to tuck a gift card inside!
Don't you just love it??   


Thank you so much for stopping by. Please head over to My Cricut Craft Room to see 
what other fun projects my fellow Design Team sisters have created!
But before you go...won't you take a moment to leave a little love!
I LOVE to read your comments!
Have a Great Day...and remember - - only
2 MONTHS til Christmas!! 


Also linking up to Link Up Tuesday at the Pink Cricut!
Photobucket

Tuesday, October 16, 2012

Happy Wednesday!

Hello Crafty Friends!
Today is my day to post as a Design Team member for My Cricut Craftroom and our
assignment for this Would You Ever Guess Wednesday was to use the Create A Critter or
Create A Critter Two and use a key OTHER than the animal key.
I had just had the pleasure of helping a bride do some projects for her wedding which will be held this Saturday!  It is a church wedding with the reception at her parent's barn!  She has adorable mason jar
candles for the tables, we decorated bubbles and drink cuzies too! 
She had two large pails that she wanted to use for something and asked what I could come up with for decorating.  Her theme is "Lucky In Love" and she is using horseshoes as part of the decorating scheme.
So with Cricut and Ribbon in hand....here is what I did!
These were very difficult to get to photograph very well!

For the first container, I put their names on the front of the container along with the saying
"Lucky In Love".   I used blue stickles to give it a little glam and to help the words stand out a bit.

I added a heart and a horseshoe to the front of the bucket as well.

 For the second container, I added their names along with their wedding date and a horseshoe once again:
 

Then the part of the decorating that I found the most fun was the handles!
It's obvious I must have liked one design better than the other, because I took quite a few photos of one and hardly any of the other!  Whoops!
Here is my favorite!
I used the Create A Critter Cartridge to cut the horseshoe from page 59 
(this is the same horseshoe I used throughout the project).
I cut the word art Mr. and Mrs. from the Tie The Knot cartridge on page 62. I used the tag feature key for that.
I punched tiny holes and used wire to attach the horseshoe and the "Love"
word art from page 54 of the Tie the Knot Cartridge.  That way they dangled down from the
Mr. and Mrs. sign.  I cut and tied a bunch of ribbon around the handles.
(I did the same on the opposite handle as well).


For the other container, I tied a large bow from the blue sheer ribbon and attached
a horseshoe and some hearts to that to have them dangle down as well!


Sorry I don't have good shots of the handles on this one!
Here they are together and I am so eager to see exactly how the bride uses them for the wedding and 
reception. I believe she planned to put her wedding programs in the one that said "Mr. and Mrs." and then use the other either for silverware or for Chex Mix that they are having at the wedding.
I wish them a beautiful day!
Thank you for visiting and I hope you will head over to My Cricut Craftroom and see the other 
projects my fellow design team sisters created for today!